So, to say the least, when I learned I could make my own tortillas, with REAL ingredients, I was STOKED! After spending TWO HOURS the first time making tortillas, I swore I'd just buy them from the store; there was NO WAY the amount of time was worth watching said hard work be devoured in 10 minutes. Then my husband asked for my tortillas. I told him it was going to take at LEAST an hour or more. He said he'd wait. I asked if he realized that meant he would be eating close to 8p.m. He said it would be worth it. I tried to BRIBE my way out of it by asking if I could just BUY store tortillas and I'd make tortillas the next time. He said he really wanted MY tortillas and that the wait would be worth it.
The short of the story, my husband NEVER wants me to buy store bought tortillas again. He only wants to eat MY homemade tortillas. And you know what? I don't think I could ever bring myself to actually BUY store bought tortillas again. More importantly, the more I make these tortillas, the more it becomes a race against myself to see how fast I can whip up a batch. I honestly can't figure out WHY it took me two hours the first time. These are seriously, simple, easy, and delicious. AND they only take about 30 minutes.
Handmade REAL Food Tortillas
(I honestly couldn't tell you the first time I made these; I have been making them for at LEAST a year.)
What you Need:
2.5 cups whole wheat white flour (I use King Arthur's)
1 tsp salt
1/2 cup oil (ANY oil will work: I've done olive, almond, avocado, apricot, etc.)
1 cup hot water (I turn on the sink faucet and wait until I see steam)
Extra flour for rolling out tortillas

Add your flour and salt to a mixer. Make sure your dough hook attachment is on.

[Note: Please realize you do NOT have to have a mixer to make this dough. BEFORE I had a mixer (last year's anniversary gift), I used my hands. It is MESSY, but it it SO WORTH the effort; and probably why it took me an original time frame of two hours. Do NOT let not having a mixer deter you from making these amazing tortillas!]
Slowly add your oil while your mixer is on low (somewhere between 1 and 3; wherever you are comfortable and do not have flour flying everywhere).


Let the mixer combine your oil and dry ingredients. You may need to stop the mixer and scrpe the sides of the bowl to ensure you end up with the result you want: coarse crumbs.
 |
| Ready to add the water! |
 |
| It DOES make for a cool picture though. |
 |
| Doesn't really look like dough, does it? |
 |
| It is slowly coming together. Not that the mixer is moving slowly. |
 |
| Dough ball is starting to form! |
 |
| Ta da! |
Now, take your dough ball and turn it into a log. Don't forget to flour your surface. Otherwise, your dough is going to STICK.
HOWEVER, if you lay your dough down first, smoosh it a little bit (yes, that is a technical term :), pick it up and then flour, you end up with an awesome "glaze" on your rolling surface. And I happen to think this works MUCH better as the dough doesn't have a tendency to stick, which makes the process of moving tortillas from your surface to the frying pan a WHOLE lot easier.
 |
| Pick up your dough ball and add a little flour to your surface. |
 |
| Ignore the tortilla balls at the top of the picture. Just smoosh your flour around a little. |
 |
| Now you have an AWESOME "glaze" on your surface that will keep your dough from sticking. |

Then cut the log in half.

And your halves in half.

And then your quarters in half.

Until you have a nice row of dough slices.

Now it's time to make tortilla balls.
I usually make three balls out of one slice. The key is to decide how BIG a tortilla you want. And if you have a tortilla press, then you have it MADE. I don't have one, so I eye ball my tortilla balls. I want them to fit just so in my hand and I know I have enough to make a tortilla small enough not to overwhelm my frying pan.

My end slices usually only make two balls. Or one and a half; it just depends.
 |
| This ball is TOO big. |
 |
| Ready to go! |

Now get your rolling pin ready.
 |
| Meet my rolling pin. YES, this will work. |
Use your hand or rolling pin to flatten your ball on your rolling surface. Add a little flour to the top.


Place your rolling pin in the center and roll either up or down.
 |
| Roll down. |
 |
| Roll up. |
 |
| First part done. |
 |
| Add a little bit of flour. |


The idea is to push out the dough from the middle towards the edges. You can also work your rolling pin a circular motion to achieve a more circular shaped tortilla; which I rarely achieve.
 |
| As ROUND a tortilla as I typically mak |
First, you can roll out all your tortillas and set them on wax paper in between each tortilla. Just make sure you have them lightly floured or they will stick and all the work up to this point will be for naught. This is what I USE to do. Then I realized I could cook one tortilla while rolling out another.
Turn the heat on between medium and medium high (you may need to adjust the heat once you start cooking the tortillas). You do NOT need to oil the pan; the oil in the dough will keep the tortillas from sticking.
Place your tortilla in your frying pan and wait for the bubbles to start to showing. You can also gently shake your frying pan; if the tortilla slides, it is ready to be turned.
 |
| Tortilla in the pan. |
 |
| Bubbles. It is ready to turn. |
 |
| Flip the tortilla for just a few minutes. |
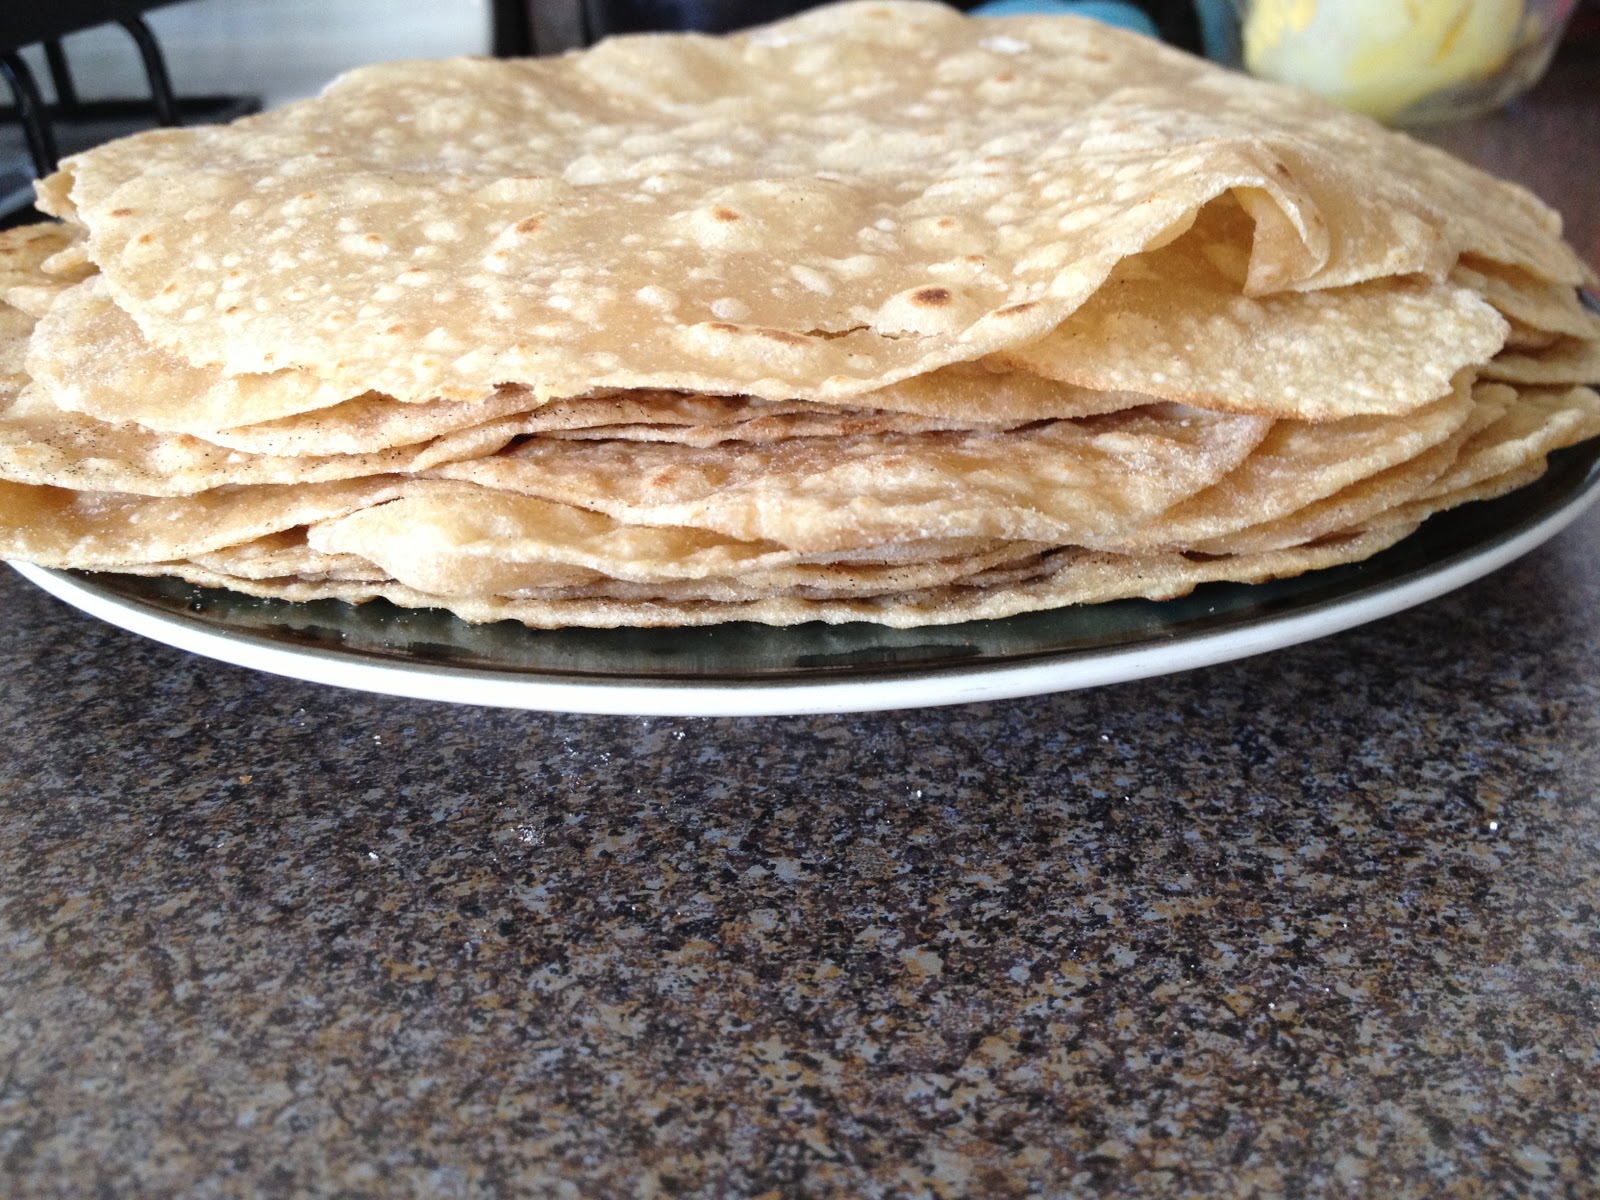
Stack your tortillas on a plate and start the next one. The pan is HOT. Hot enough that you can take it off the burner, place another tortilla on it and cook that tortilla without your pan sitting on the flame. I usually cook one tortilla over the flame, then cook one off the flame (literally on another burner, I keep one burner on the entire time, so be careful not to place your arm near the open flame if trying this). By doing this, it reduces the number of burnt tortillas I end up with AND it allows me to roll out a tortilla without forgetting I have one already in the pan.
Cook a tortilla over the flame, then start one off flame. Roll out a tortilla, flip the one cooking, set it aside and start another one over the flame. Repeat.
Make sense?
Also, make sure your tortillas are rolled out nice and thin. The thinner they are, the faster they cook and I think the more evenly they cook.
 |
| Thin. Thin. THIN. That is my counter top you see through this tortilla. |

And as you can see, NOT perfect. The one on the far left is definitely pretty round though! I realize these LOOK large, but honestly, I aim for fajita size tortillas.
You will learn after the first go how large a tortilla your frying pan can handle. It takes practice, but it is WORTH it.
Also, if your tortilla happens to fold on itself when you place it in the frying pan, DON'T worry! I have had MANY fold on themselves. Just wait until your tortilla slides when you shake the pan and then CAREFULLY unfold it. I have had to throw a handful away because I just couldn't undo them. If this happens don't stress out; it just isn't worth it. Get another one going and move on!
It may take some time the first go around, but these are SO WORTH the time and effort put into them. My family won't eat any other kind of tortilla. My husband's co-workers asked him where I bought the tortillas from; they honestly could not fathom the idea that they were handmade. And the leftovers do not last very long. The kidlets are usually asking for quesadillas the following day and these tortillas make AMAZING wraps!
Take some time out of your day and make these!
Absolute perfection.
No comments:
Post a Comment