8.17.2013

Greek Yogurt Pancakes

Greek Yogurt Pancakes. Also known as "The Best Pancakes in the WORLD". At least that is what they are known by at my house. The first time I made these, I literally ate them OFF the griddle. NO plate needed. No fork needed. NOTHING extra needed. Pancake, meet Mouth. Mouth, eat Pancake.

Yes, they are really THAT good. In fact, they have become a staple in our home. Whether you want to label then as a staple recipe, staple meal.. that's up to you. But a week does not go by without eating these delicious creations. At least twice. A week. Although I have been known to put away more than two servings of these delicious pancakes in one meal sitting.

The most amazing aspect of these Greek Yogurt Pancakes, in my opinion anyway, is there are only FOUR ingredients. Four SIMPLE ingredients. Four REAL FOOD ingredients.

What you Need:
-24 oz. Greek Yogurt
(I use vanilla and honey Greek Gods Yogurt because it's what we always have on hand.)
-2 cups Whole Wheat Flour
-4 tsp Baking Soda
-4 eggs

Simple. Real. Ingredients.
First, turn the heat on under your griddle. I keep mine between low and medium low and adjust as the process of cooking the pancakes goes on.


Then you start with your yogurt and eggs.


Mix the yogurt and eggs around until you have a pale yellow mixture. If you have EVER made the most delicious blueberry muffins in the world, you will know EXACTLY what the mixture/consistency is like.

Pale yellow mixture and a whisk (VERY important).
Then it's time to add your flour.


And then your baking soda.


How EASY and SIMPLE is that?! I have found that using a whisk to combine the wet ingredients and using a spatula to combine the wet and dry ingredients works best. (It's something I learned when making the muffins mentioned above.) It keeps your whisk from acquiring the batter. You WANT the batter on your griddle, not in your whisk!

Use a SPATULA to combine/fold in the dry ingredients.
At first, it seems as though you are doing something wrong. You are really folding in the dry ingredients so it looks all lumpy and scary, but just keep going!

Looking kind of weird.

Eventually you will end up with PERFECT pancake batter.


And then, it's time to MAKE the pancakes!!! I use a 1/3 cup or 1/2 cup dry measure. A half a cup, which I started using before moving over to the 1/3 cup dry measure makes really BIG pancakes; not that that is necessarily a bad thing.


Each side takes about 2-3 minutes. BEFORE you flip your pancakes, you'll notice the edges building up a bit of a wall. That's when I usually flip mine. I've tried using the "bubble method" (where you check for a lack of bubbles forming) and it's never served me well. Then again, pancakes in general have just been one of those foods I never really understood and therefore was too afraid to try and master. They just NEVER turned out well. But no more! (Although my first batch was a bit dark; I spread butter on my griddle, but learned you really don't need it.)


Although I DO flip my pancakes back over to ENSURE they care cooked all the way thru (and because I usually end up splattering batter when flipping pancakes). I know mine are done when I can touch them (either with my finger or my trusty flipper spatula) and there is no "squish" to them. Because that is TOTALLY technical kitchen vocabulary there. :)

I also managed to get "better" as I went along!

Look! Really PRETTY pancakes!
If you can mange NOT to eat these straight off the griddle, they are absolutely DELICIOUS with strawberry jam, honey, maple syrup (straight from the tree, not the corn syrup stuff), strawberry jam AND fresh strawberries, JUST strawberries, the possibilities are ENDLESS!

In fact, I figured I should probably test out more than just my usual strawberry jam and/or strawberries and had a little sampling this morning.
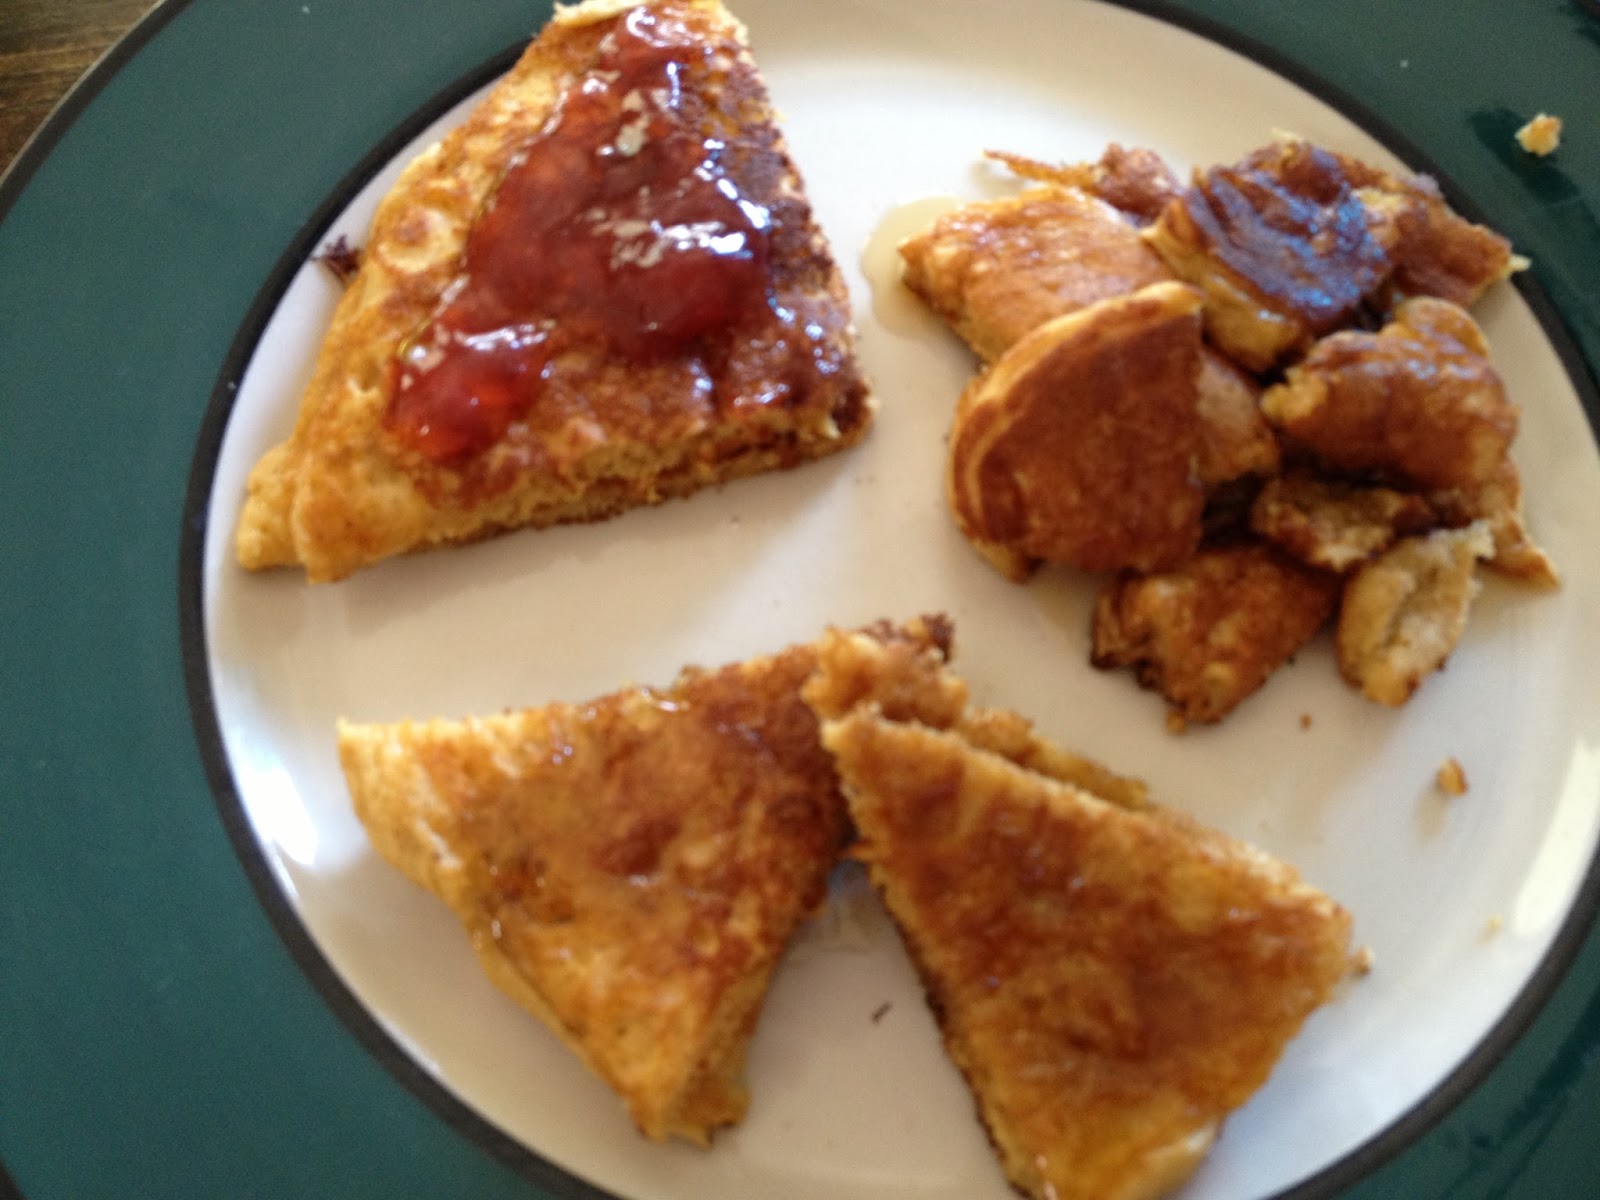

But really, these Green Yogurt Pancakes with strawberries = Just Amazing. And strawberries with a little bit of maple syrup; forget about lunch/dinner and dinner/supper, I'll have pancakes ALL day long!

My version of StrawberryShortcake!
(The above photo is of MINI Greek Yogurt Pancakes, not the giants I made this morning.)

The kids LOVED theirs with banana and strawberries:


I do NOT like bananas, so I take mine with just strawberries when I can:


And of course, with just a bit of maple syrup is delicious as well!


In ALL honesty though, I think my favorite way is straight off the hot griddle! With the honey and vanilla yogurt, the pancakes are already full of flavor and life! Well, not life. I mean, that would be kind of twisted, right? But you know what I mean.

These things are GOOD! You need to make them. Today! I think you'd be glad you did!


P.S. OOOOH! I've also made these with blueberries and chocolate chips (two separate batters; not together :) IN the batter (messier on the griddle, so I don't make them very often) and they're DELICIOUS! If I had had FRESH blueberries, I would have left them as filling between pancakes, but I only had frozen, hence adding them TO the batter instead.

Bacon Bacon Bacon

I'm just going to say it: I LOVE bacon.

[Now you know.]

However, I am also VERY picky about my bacon.

Don't get me wrong, I'll eat it however which way it is served, but I have "particular tastes" of what perfect bacon is. So what IS perfect bacon? Perfect bacon is melt-in-your-mouth-crisp-perfection. And while I JUST stated I'd eat bacon any which way it is served, I REALLY detest non-crisp-perfection bacon. If it's close, that is one thing, but if my bacon is still wiggling on my plate ... I'm not touching it. Or I'll touch it to kindly hand it off to whomever in my family would like to digest it.

So how in the WORLD are you suppose to master non-crisp-pefection bacon?!

Well, I finally mastered it. And you want to know the best part? The "secret" has been on the packaging of my bacon all along. WHO KNEW THIS and did NOT share with me?!

The "secret": Bake your bacon in the oven.

Yes, BAKE it. Am I the ONLY one who found this earth-shattering? I had NEVER imagined cooking bacon in the oven, let alone with a cooling rack and cookie sheet. I first came across this way of cooking a few months ago. Unfortunately, it was NOT working. I figured it HAD to be my oven; I mean, the door didn't even close all the way on the top right side. (Yes, JUST the top right part of the door didn't seal completely with the oven; which meant half your meal was crispier than the other half REGARDLESS of what you were cooking and regardless of how many times you turned the food.) We finally decided to purchase a new range and the day before the installation I mastered melt-in-your-mouth-crisp-perfection bacon. In the "broken" oven. All because I decided to follow the instructions on my package of bacon.

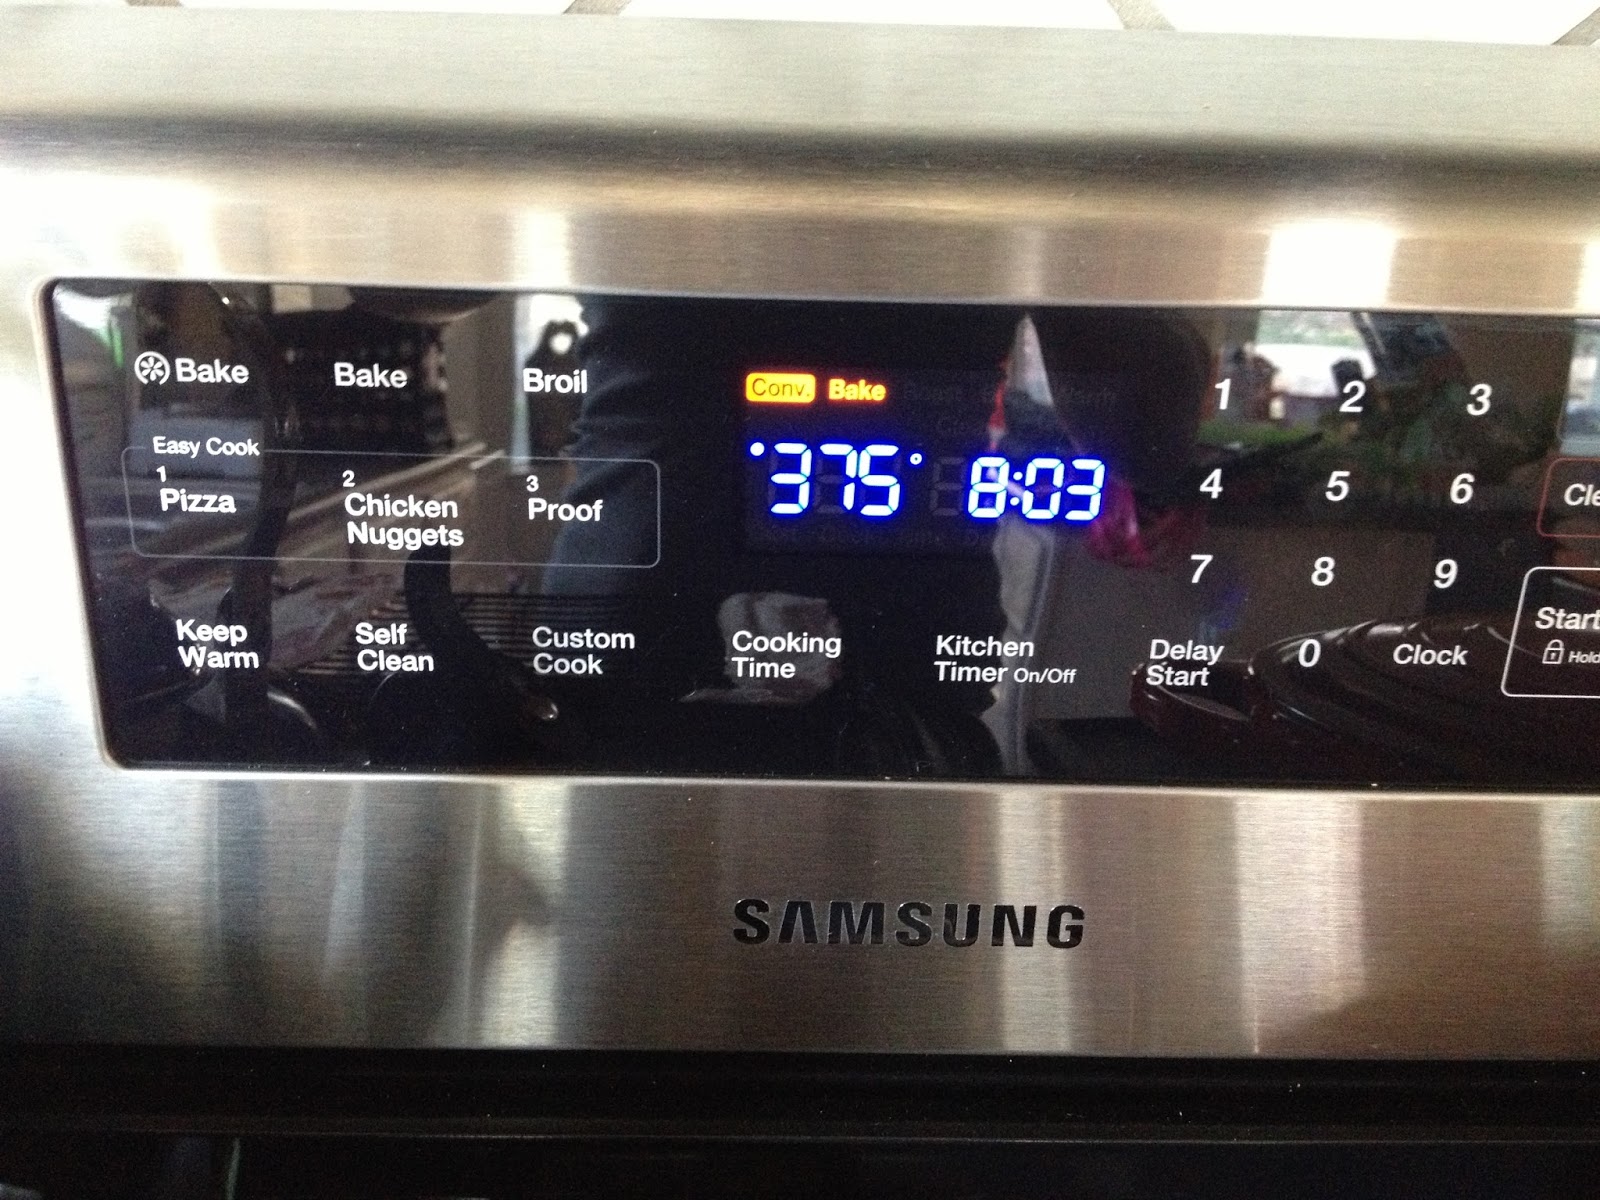
First: Preheat your oven to 375 degrees. Fahrenheit.

You can ignore the fact that it is 8a.m. and I'm only JUST now getting to making breakfast.

What You Need:
-shallow baking pan
-cookie cooling rack
-BACON!

First, take a shallow baking pan/cookie sheet out.


Then, place your cookie cooling rack right on top.


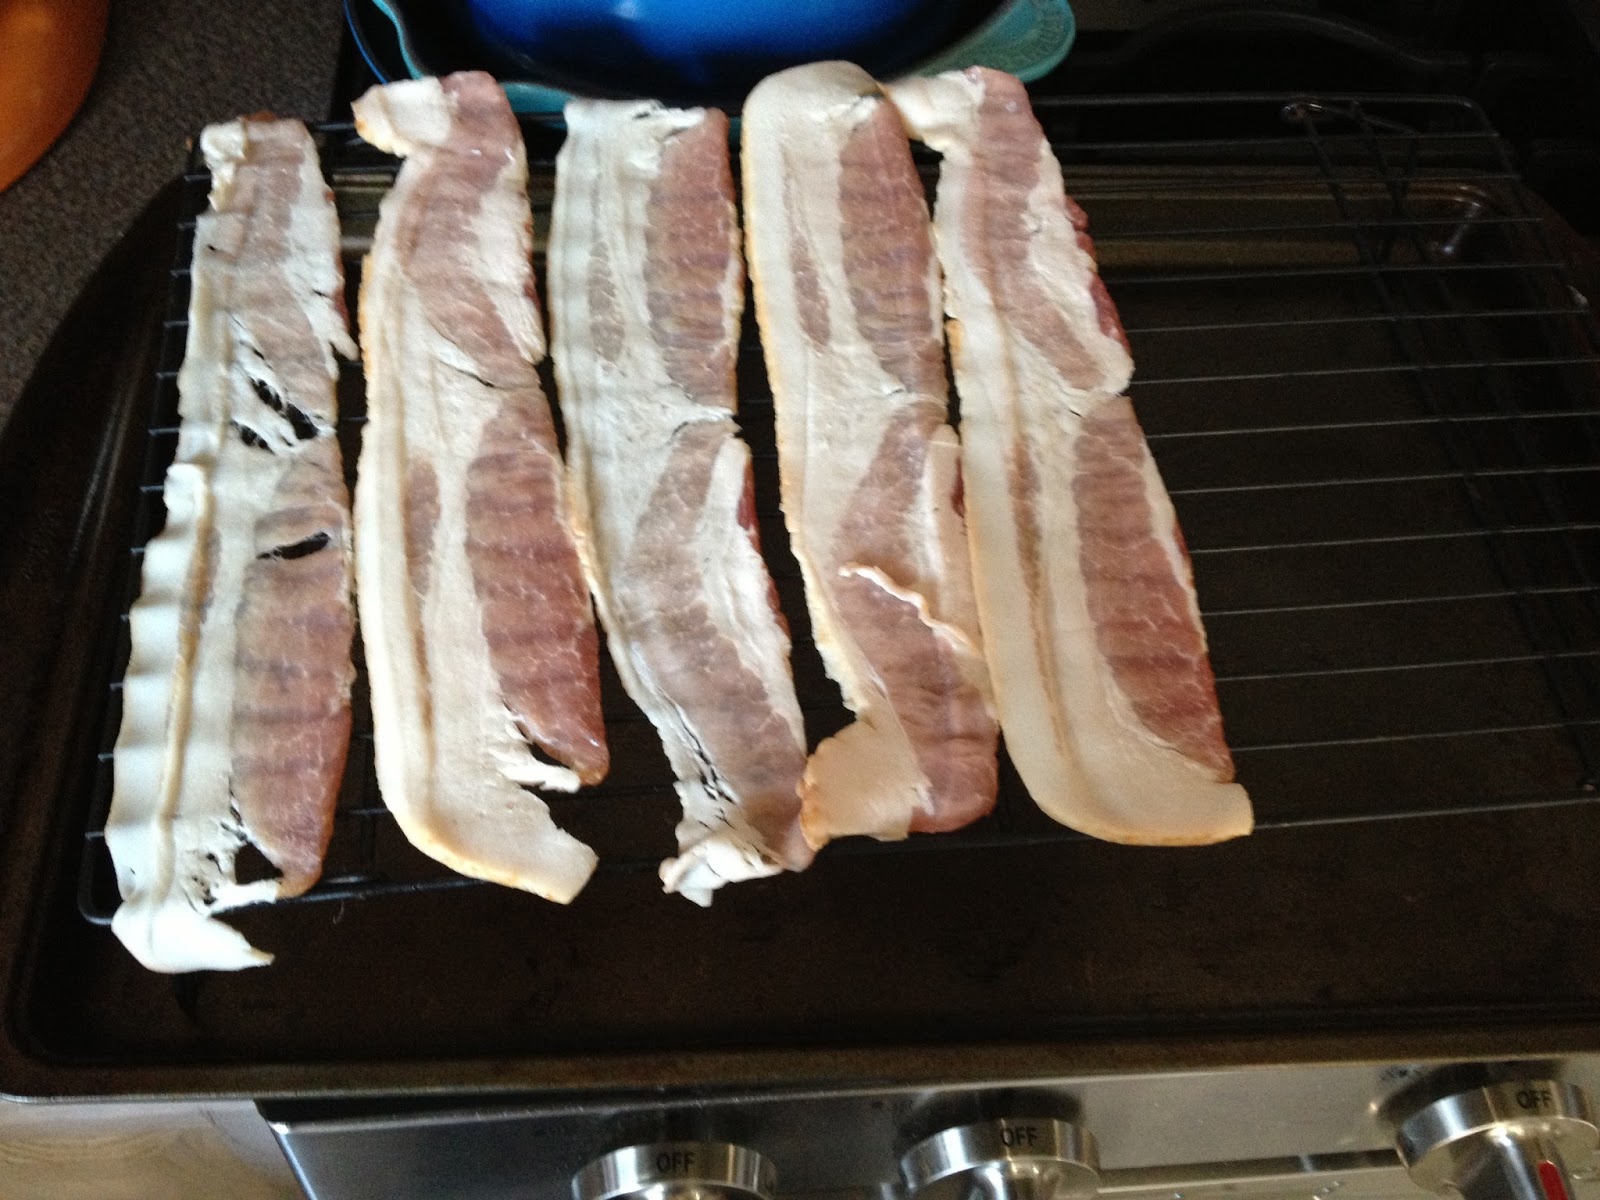
Next, lay your bacon across in a neat (not REALLY necessary), non-crowded (VERY important) rows.

Notice none of the pieces are overlapping.
As you finish unloading your package of bacon, you may want to adjust your pieces. The package of bacon I used this morning is one of those where I would have had one slice left by its lonesome and I was NOT about to leave a single piece of bacon out, wait for the rest to cook, and then cook a single piece by itself. Not in the middle of summer. In the desert. So I adjusted all my slices and ended up with this beauty:


Although, let's face it, COOKED bacon is FAR more beautiful than uncooked. And twenty minutes later, I had BEAUTIFUL bacon.


See that far, left piece. THAT is melt-in-your-mouth-crisp-perfection. Same with the third one in from the left. Those are the pieces you take straight from the oven and munch on while you wait just a tad for your pancakes to finish cooking so by the time the pancakes are done, you have MORE melt-in-your-mouth-crisp-perfection bacon to enjoy!


Bacon PERFECTION using the oven. WHY didn't I know about this sooner?!?!

5.14.2013

Deliciously Amazing Kale Chips

These are SO good and SO EASY to make! In fact, I don't have a very good "Deliciously Amazing Kale Chips Completed" photograph because the kidlets lined up chairs in the kitchen and ATE the chips as they came out of the oven! 

MY kidlets?!?! Can you believe it?! 


I can't. I couldn't. It STILL boggles my mind. I mean, I KNEW the green kale would give me an edge as green is one of each girls' favorite colors (they think they have to have the same number of favorite colors as their age) but when the first batch came out and they looked brown, I was a little nervous. Of course, brown is another one of the favorite colors for each girl, so I still thought I might have a win going on. But to have my kidlets (including the boy, he's 18 months old) each pull up a chair and continue to ask for more KALE chips, was BEYOND my wildest imagination! 


Of course, if the kids were going to dive into these chips, I had to take the plunge myself. After all, making kale chips was my original intention in purchasing my first bunch of kale. And you know what? These Deliciously Amazing Kale Chips, true to their name, did NOT disappoint. Even the extra crispy-probably closer to burnt ones didn't disappoint; they reminded me of those popcorn kernels at the bottom of the bowl that are more crunch than butter. 


It ALL (finally) started just a couple days ago when I decided to take the plunge. I was GOING to make Deliciously Amazing Kale Chips. I had seen the recipe over at Nom Nom Paleo and polled a fitness group, as well as doing a general internet search. When I saw the LIST of suggestions at Love and Primal, I KNEW I had the grasp on kale chips that I needed to push me into making (and trying) kale chips!


Deliciously Amazing (and Simple) Kale Chips

(First made 07 May 13)

What You Need:

Kale (I used one full bunch from Sprouts)
Oil (I used avocado)
Salt
Garlic Powder
Pepper
Cheese (I used a mix of fresh parmesan, asiago, and romano)

I ended up needing to grate more cheese. SCHUCKS!


The first (and apparently MOST important) step is to dry out your kale. I say apparently because I did NOT end up with ANY soggy pieces and the point of COMPLETELY drying out the kale is to ensure you don't get any. So either I have super powers in making kale chips or I just did a really good job of drying out my kale.


I hand washed and dried my kale. After washing a leaf in the sink, I moved it to a paper towel. After the entire paper towel was covered, I moved one piece at a time, upside down to dry off excess water and then moved the leaf to a fresh paper towel.  Then I started over again until I had three paper towels covered in kale. (You could also be more environmentally smart than me and use towels; mine just happened to be in the wash.)

Then I left them on my counter. I was simultaneously making supper, which CONVENIENTLY meant my kale would be COMPLETELY dry by the time it came to actually putting the ingredients together. 


(You could also use a salad spinner, but I don't have one.)


This is actually three (or four) stacks of paper towels with DRY kale.
Preheat your oven to 350 degrees F.

Break up your kales leaves into happy, chip size, flat pieces. 


I did NOT use scissors, which resulted in not using the ENTIRE kale leaf, but I think it worked out in making nice flat pieces. 


(Flat pieces are important to avoid having "mushy" parts of your chip. I'm WEIRD about my food, remember, so I made SURE I had as flat of pieces as possible; even if it meant stacking the pieces on top of one another to push flat pieces that didn't want to cooperate. The oil will help with this too, so if you don't have super flat pieces, fear not.)


When you are FINALLY ready to take the plunge, which I would hope by this step you are, arrange your kale pieces on parchment paper or a cookie mat. I actually happen to HAVE a cookie mat which I received as a gift and was STOKED because I did not have any parchment paper in the house. (It's not actually something I usually have on hand either.)


Drizzle on your oil. At this point you can take your none flat pieces and rub the oil on with your fingers and then "stick" it to your parchment paper or cookie mat. You can see I have a couple pieces that just did NOT want to lay completely flat. (Spoiler alert: they still turned out okay, WITHOUT the mush! :) 

Sprinkle your kale with salt and pepper.


Then sprinkle on your cheese!


Then plop your tray into the oven. (Carefully plop though.)

Fifteen minutes later:


I won't lie, I was excited and disappointed ALL at the same time when my first batch came out of the oven. I had to ask a savvy friend if they even LOOKED right coming out of the oven. After being assured that they were fine, I asked the kidlets, "Who wants a green chip?!"

"ME!" yelled my oldest.
"Me!" yelled my youngest daughter (third in line).
"NOT ME!" yelled my second daughter.

"WOW", I thought. My eldest (the pickiest) wants a chip and the one who usually eats/tries EVERYTHING doesn't want a bite. And yes, I ignored the fact that I was pawning my kale chips off on my kidlets before trying them myself. (Something I NEVER do.)

Don't worry, it didn't last long; although the kids DID have the first (few) bites. After hearing, "Mommy, may I have some more chips please?" I knew I HAD to take the plunge (finally). (Come ON already!)

My first bite was one of the more crispy/burnt ones. And you know what? It tasted like popcorn! You know the kernals at the very bottom of the bag that are all crunch more than anything else? JUST like that. Except it evaporated in my mouth in mere nanoseconds!

I decided to try another one. After all, my kids weren't complaining, were asking for more, the second born decided she did in fact want some and proceeded to ask for more, AND the 18 month old pushed a chair into the kitchen after his sisters so he could have some too.

Due to the sprinkling of oil and my lack of "sprinkling oil" skills, I took the chips immediately off the pan and onto a paper towel to help soak up any extra oil that decided to drip off the chips. Or cheese.


My first batch:


They lasted all of two minutes. Tops.

Total I had approximately 4 batches put into the oven and this is ALL that remained (even though the kidlets were STILL asking for more, while they sat so patiently in the chairs they pulled up to the kitchen island).

I know they look "wet" but these are DRIED out kale chips!


Since I read in a couple places that kale chips don't last long, I KNEW we'd be eating (and subsequently FINISHING) what remained the following day. Let me just say, that kale chips added to your salad equals DELICIOUSNESS!!! And even though the girls were hesitant at first to eat their side of chips with lunch (yes, HESITANT despite DEVOURING them the night before after supper), they ate them all up. They even said they didn't want to eat the cheese; only the chip! 

WIN-WIN!


4.17.2013

Simply Delicious Tortilla Soup

I LOVE Tortilla Soup! You can pretty much give me ANY tortilla soup and I will DEVOUR it. After having a salad with a cup of cheesy tortilla soup at Cracker Barrel, I decided I NEEDED to make my own. Don't get me wrong, the soup and salad were FABULOUS (I happen to REALLY enjoy CB's salads and the Tortilla Soup there was ABSOLUTELY EXCEPTIONAL), but I also know I probably don't WANT to look at the laundry list of ingredients in that soup were.

(A quick internet search did not divulge the ACTUAL recipe. HOWEVER, the "Tortilla Soup like Cracker Barrel" recipes provided were not that bad ingredient list-wise at all. Perhaps the list of ingredients isn't THAT bad?)

My "pet peeve" about ingredient lists is the misunderstanding a lot of people have. Heck, I USE to have the SAME misunderstandings. It says flour, that's real food right? Never mind that the flour itself is NOT a single ingredient as there are "extras" thrown in there. And a box of cake mix is NOT a single ingredient either. Okay, I'm done. Over it. MOVING on!

(And yes, I've read the ingredients for all the cans I'm about to show you. :)

Doesn't that look SCRUMPTIOS?!?!!!! Yum. Yum. Yum.


Simply Delicious Tortilla Soup
(Made this again yesterday 08 April 13)

What you Need:
2 large chicken breasts - shredded
Southwestern Spices (I use my Mom's Southwestern Rub, which is Emeril's Rub with a twist)
Olive Oil
1/2 White Onion - diced
1 Bell Pepper - diced
4 garlic cloves - diced
1 can of Rotel (10-15 oz can)
32 oz brother (chicken or vegetable are probably best)
2 Tbsp Tomato Paste
4 cups water
2 cans black beans (30 oz total)
1/4 cup masa + water


Obviously, as apparent in the photographs, I had my chicken all ready to go. There are TWO ways you can go about getting your chicken ready for this soup.

First, you can oven fry/bake the chicken. Place your chicken breasts on a pan, drizzle with oil and spices, and cook at 350 degrees F for 30 minutes. When it's done, shred or cube the chicken.

Because I wanted shredded pieces like you find in restaurant tortilla soups, I decided to boil my chicken for 20 minutes. Normally I add half an onion to add flavor. As I only had a half onion and needed it for soup itself, I skipped the onion this time. This leaves the chicken unflavored and means I had to add my Mom's Southwestern Rub. Awwwwh Shucks.

Now on to the soup:

Start by drizzling some olive oil in the bottom of a large pot and add your onions.


I LOVE to let my onion soak up all the yummy olive oil and then cook. Give the onions and stir and cook them until translucent OR you can caramelize them (this is a VERY delicious option as well, but I was in the MOOD and HUNGRY for tortilla soup, so I just let them get translucent).


Then toss in the bell pepper.


Let your bell peppers cook for a few minutes (2-4 minutes). If you don't like crispy bell peppers, do NOT worry, there will be PLENTY of cook time coming up.

Add in your garlic.

Garlic added at the bottom.
Then your shredded chicken.


I boiled my chicken without any onion, so I knew I'd need to add some seasoning to spice up the soup.

Meet my Mom's AMAZING Southwest Rub.


I LOVE spicy food, so I added two HEAPING tablespoons of my Mom's Southwest Rub.  And by tablespoon, I mean my large soup spoon.

Yum!


Mix it all together.

Looking good!
Pour in your can of Rotel; juice and all. I used Rotel with Green Chiles. I told you, I like spice!


Then add your broth. I used vegetable broth, as I was out of chicken.


Keep on pouring it. All 32 ounces.


Add in your tomato paste. I used a big soup spoon and heaping spoonfuls at that.


Then add in the water.

And then the beans. You can see I have two different colors of black beans here. One can was "Natural" and the other "Organic". I read: DELICIOUS.


Now stir it all around to combine. You don't want a huge chuck of tomato paste in your spoon.


Looking pretty amazing and definitely well blended.


Bring your soup to a boil.


Now comes the hard part. Put on the lid, reduce your heat to low and wait. The waiting part is the hard part. Because I seriously wanted to just eat the soup at this point.

Forty-five minutes is a VERY long time to wait when you are seriously jonesing for tortilla soup.

When your timer FINALLY goes off, it still isn't time to eat. Grab some masa.


Add some water to your masa. This isn't an exact science here.


Stir your masa and water mixture around.


You want to end up with a paste. As you can see, I ended up with a rather THICK paste. I was hoping it would help thicken up my soup a little. (Not that I couldn't just add a couple pounds of cheese to accomplish that mission, but I thought I'd give it a try.)


Add your masa paste to your soup. I dunked my entire bowl into the soup pot to ensure my soup acquired every, little last bit of masa.


Let me suggest to get a relatively thin paste when you make this. My thick paste ended up giving me corn balls in my soup. And corn balls meant an extra step (and more time before getting to eat) of taking my spoon and smashing the balls so everything blended.


However, once the balls were all smashed down and blended into the soup, the soup look SCRUMPTIOUS!


Unfortunately, to let the masa meld with the tortilla soup, it needs to cook for another 15 minutes. I TOLD you waiting was the hard part.

Now, you could make use of this time, though, and grate up some cheese, cut up some avocado and whatever other toppings you want. Tortilla chips, strips, green onion, cilantro, etc.

Fifteen minutes might just fly by then!

Ready to be DEVOURED!
Try not to get too excited as the soup is still VERY hot even if it is time to FINALLY eat it.

Add your cheese.


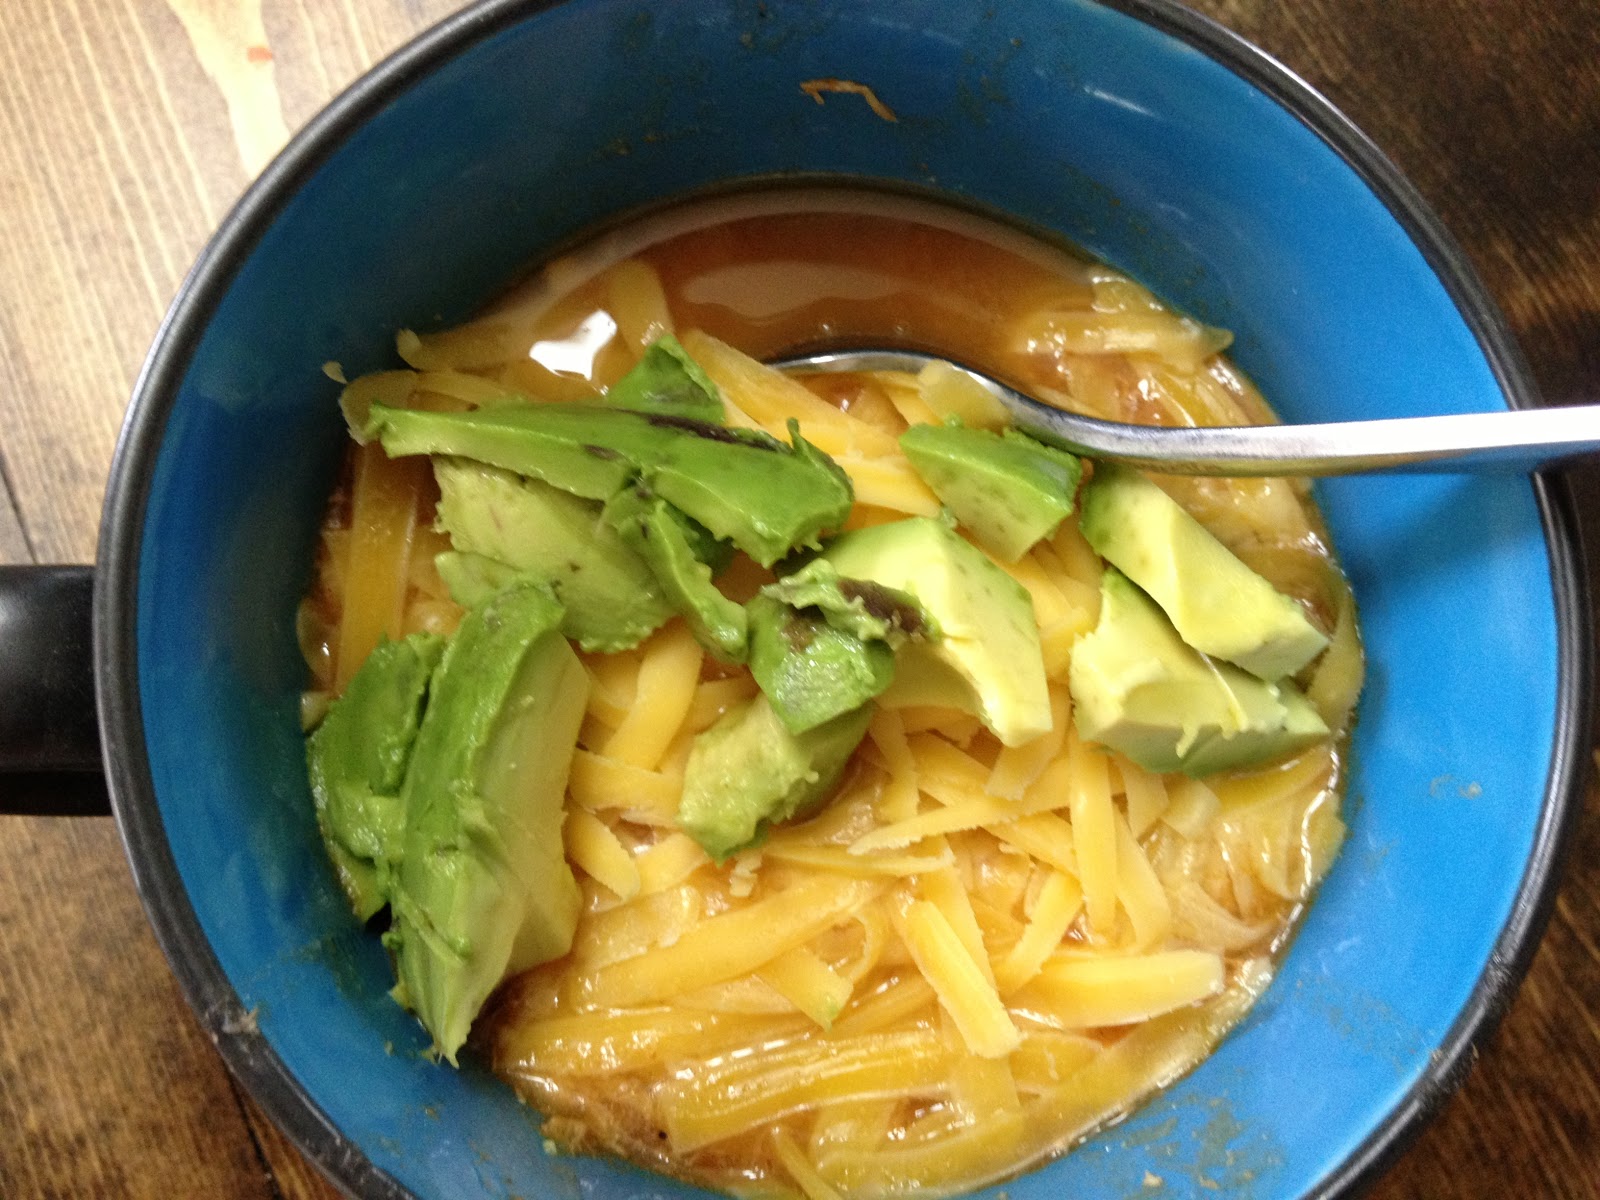
Add your avocado.


Devour your soup. Or take another picture after stirring it around (and taking at least one bite) so you can treasure this moment .


Talk about absolutely simple and delicious. And LEFTOVERS!

This soup is definitely NOT Cracker Barrel's Cheese Chicken Tortilla Soup, but just add a bunch of cheese (you'll literally need more than a pound) and melt it in. Personally, I like just adding the cheese to the top. I didn't have any tortillas made, so I didn't add any strips; just the cheese and avocado.

And you know what? I went back for seconds. And thirds. And had leftovers for lunch the following day. (I'm pretty sure seconds were involved them too.)

Have I mentioned how much I LOVE tortilla soup?