4.17.2013

Simply Delicious Tortilla Soup

I LOVE Tortilla Soup! You can pretty much give me ANY tortilla soup and I will DEVOUR it. After having a salad with a cup of cheesy tortilla soup at Cracker Barrel, I decided I NEEDED to make my own. Don't get me wrong, the soup and salad were FABULOUS (I happen to REALLY enjoy CB's salads and the Tortilla Soup there was ABSOLUTELY EXCEPTIONAL), but I also know I probably don't WANT to look at the laundry list of ingredients in that soup were.

(A quick internet search did not divulge the ACTUAL recipe. HOWEVER, the "Tortilla Soup like Cracker Barrel" recipes provided were not that bad ingredient list-wise at all. Perhaps the list of ingredients isn't THAT bad?)

My "pet peeve" about ingredient lists is the misunderstanding a lot of people have. Heck, I USE to have the SAME misunderstandings. It says flour, that's real food right? Never mind that the flour itself is NOT a single ingredient as there are "extras" thrown in there. And a box of cake mix is NOT a single ingredient either. Okay, I'm done. Over it. MOVING on!

(And yes, I've read the ingredients for all the cans I'm about to show you. :)

Doesn't that look SCRUMPTIOS?!?!!!! Yum. Yum. Yum.


Simply Delicious Tortilla Soup
(Made this again yesterday 08 April 13)

What you Need:
2 large chicken breasts - shredded
Southwestern Spices (I use my Mom's Southwestern Rub, which is Emeril's Rub with a twist)
Olive Oil
1/2 White Onion - diced
1 Bell Pepper - diced
4 garlic cloves - diced
1 can of Rotel (10-15 oz can)
32 oz brother (chicken or vegetable are probably best)
2 Tbsp Tomato Paste
4 cups water
2 cans black beans (30 oz total)
1/4 cup masa + water


Obviously, as apparent in the photographs, I had my chicken all ready to go. There are TWO ways you can go about getting your chicken ready for this soup.

First, you can oven fry/bake the chicken. Place your chicken breasts on a pan, drizzle with oil and spices, and cook at 350 degrees F for 30 minutes. When it's done, shred or cube the chicken.

Because I wanted shredded pieces like you find in restaurant tortilla soups, I decided to boil my chicken for 20 minutes. Normally I add half an onion to add flavor. As I only had a half onion and needed it for soup itself, I skipped the onion this time. This leaves the chicken unflavored and means I had to add my Mom's Southwestern Rub. Awwwwh Shucks.

Now on to the soup:

Start by drizzling some olive oil in the bottom of a large pot and add your onions.


I LOVE to let my onion soak up all the yummy olive oil and then cook. Give the onions and stir and cook them until translucent OR you can caramelize them (this is a VERY delicious option as well, but I was in the MOOD and HUNGRY for tortilla soup, so I just let them get translucent).


Then toss in the bell pepper.


Let your bell peppers cook for a few minutes (2-4 minutes). If you don't like crispy bell peppers, do NOT worry, there will be PLENTY of cook time coming up.

Add in your garlic.

Garlic added at the bottom.
Then your shredded chicken.


I boiled my chicken without any onion, so I knew I'd need to add some seasoning to spice up the soup.

Meet my Mom's AMAZING Southwest Rub.


I LOVE spicy food, so I added two HEAPING tablespoons of my Mom's Southwest Rub.  And by tablespoon, I mean my large soup spoon.

Yum!


Mix it all together.

Looking good!
Pour in your can of Rotel; juice and all. I used Rotel with Green Chiles. I told you, I like spice!


Then add your broth. I used vegetable broth, as I was out of chicken.


Keep on pouring it. All 32 ounces.


Add in your tomato paste. I used a big soup spoon and heaping spoonfuls at that.


Then add in the water.

And then the beans. You can see I have two different colors of black beans here. One can was "Natural" and the other "Organic". I read: DELICIOUS.


Now stir it all around to combine. You don't want a huge chuck of tomato paste in your spoon.


Looking pretty amazing and definitely well blended.


Bring your soup to a boil.


Now comes the hard part. Put on the lid, reduce your heat to low and wait. The waiting part is the hard part. Because I seriously wanted to just eat the soup at this point.

Forty-five minutes is a VERY long time to wait when you are seriously jonesing for tortilla soup.

When your timer FINALLY goes off, it still isn't time to eat. Grab some masa.


Add some water to your masa. This isn't an exact science here.


Stir your masa and water mixture around.


You want to end up with a paste. As you can see, I ended up with a rather THICK paste. I was hoping it would help thicken up my soup a little. (Not that I couldn't just add a couple pounds of cheese to accomplish that mission, but I thought I'd give it a try.)


Add your masa paste to your soup. I dunked my entire bowl into the soup pot to ensure my soup acquired every, little last bit of masa.


Let me suggest to get a relatively thin paste when you make this. My thick paste ended up giving me corn balls in my soup. And corn balls meant an extra step (and more time before getting to eat) of taking my spoon and smashing the balls so everything blended.


However, once the balls were all smashed down and blended into the soup, the soup look SCRUMPTIOUS!


Unfortunately, to let the masa meld with the tortilla soup, it needs to cook for another 15 minutes. I TOLD you waiting was the hard part.

Now, you could make use of this time, though, and grate up some cheese, cut up some avocado and whatever other toppings you want. Tortilla chips, strips, green onion, cilantro, etc.

Fifteen minutes might just fly by then!

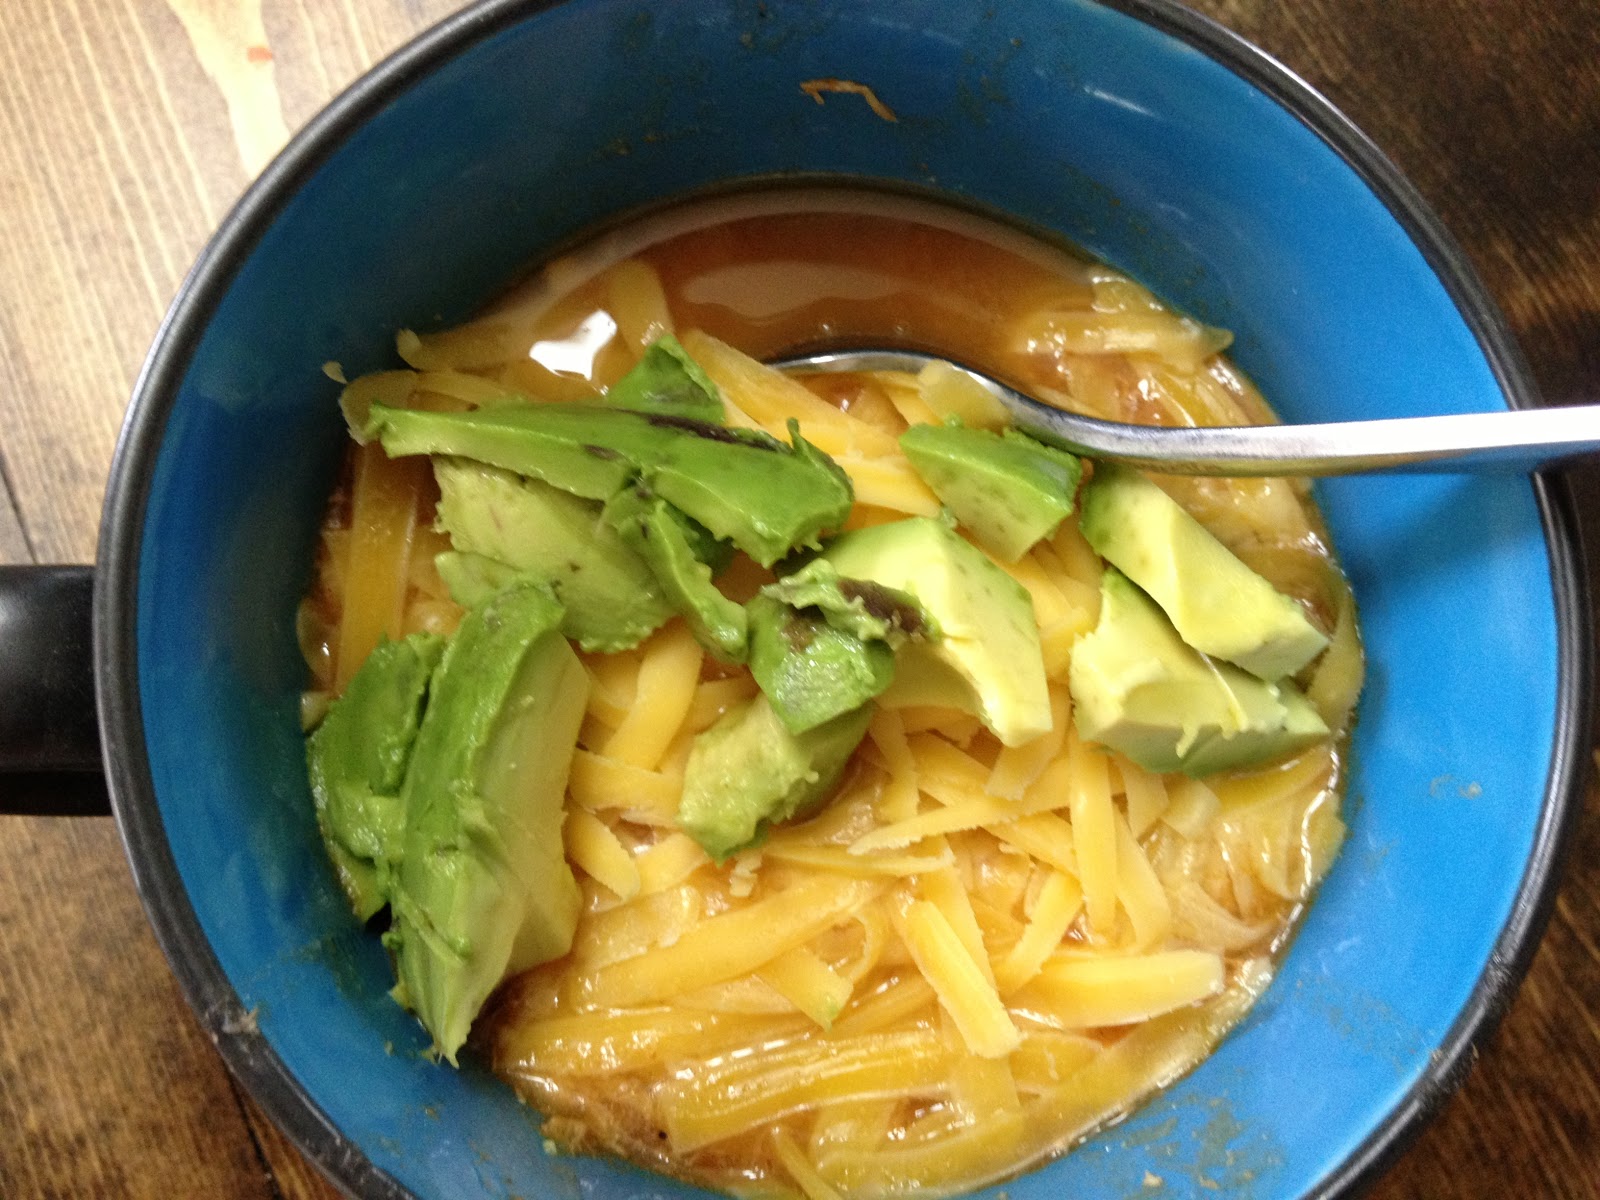
Ready to be DEVOURED!
Try not to get too excited as the soup is still VERY hot even if it is time to FINALLY eat it.

Add your cheese.


Add your avocado.


Devour your soup. Or take another picture after stirring it around (and taking at least one bite) so you can treasure this moment .


Talk about absolutely simple and delicious. And LEFTOVERS!

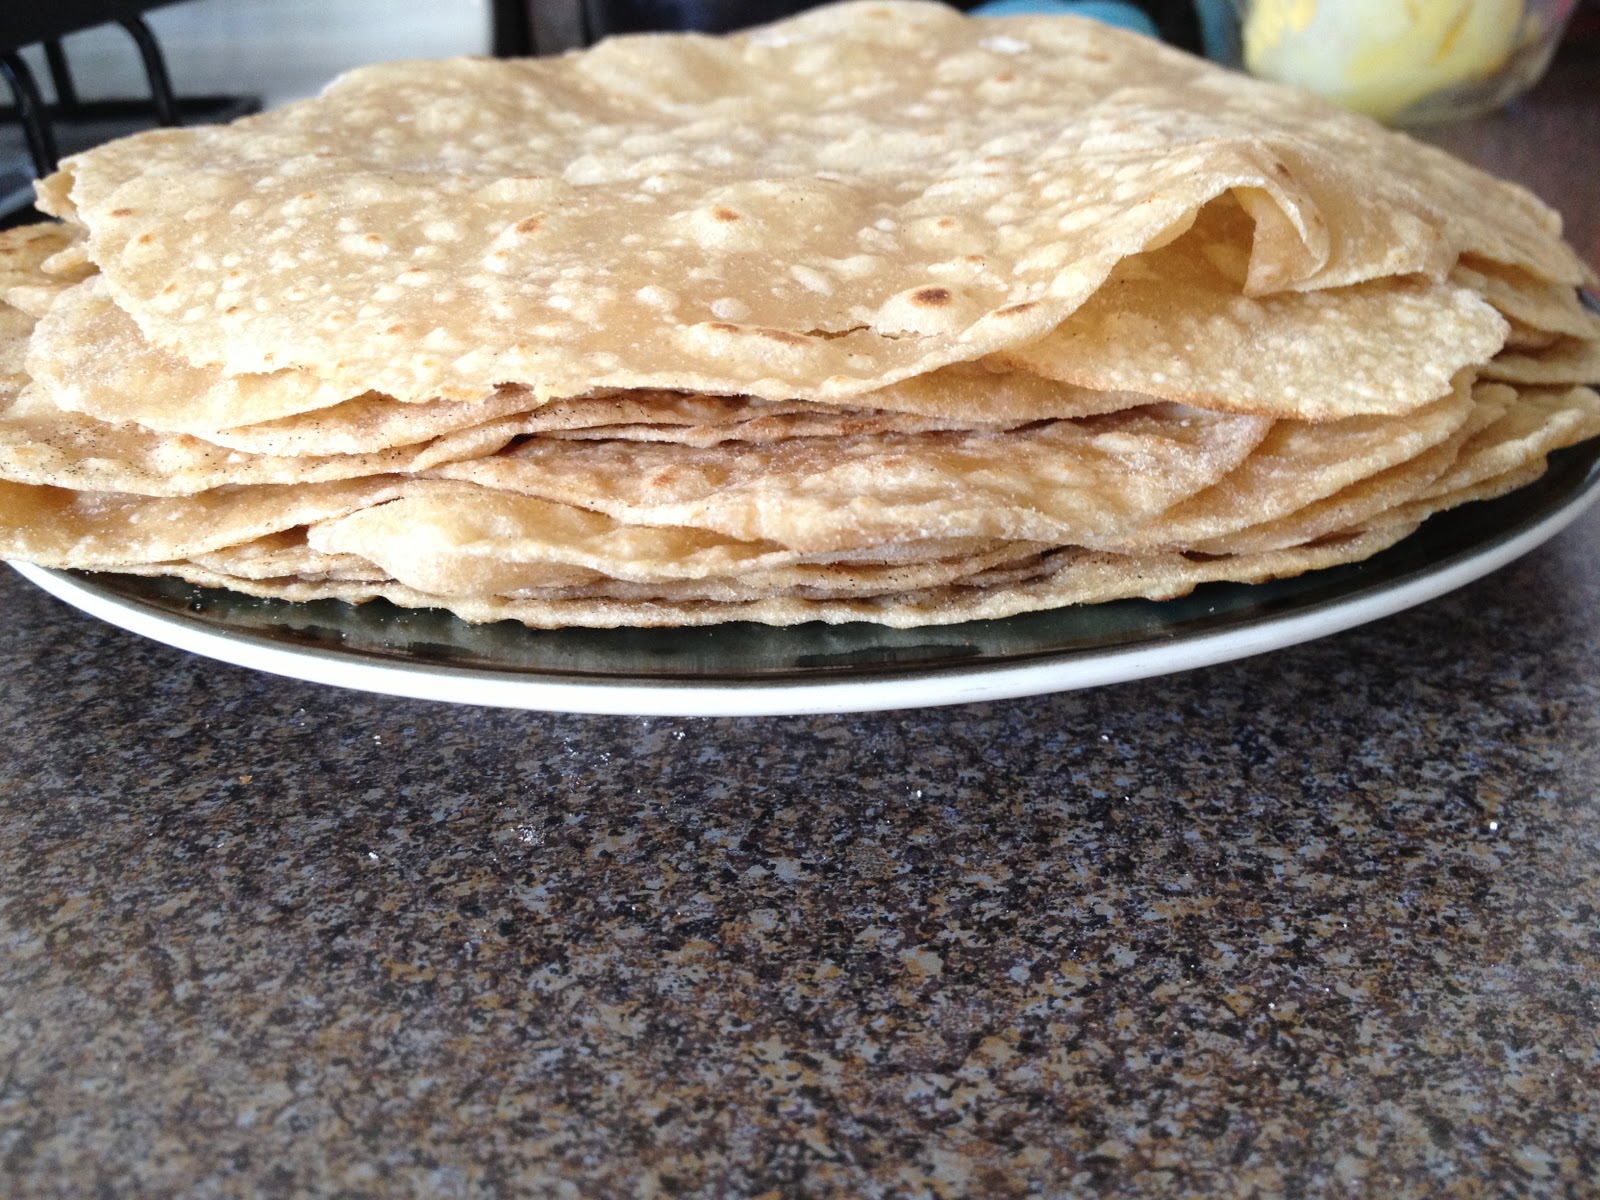
This soup is definitely NOT Cracker Barrel's Cheese Chicken Tortilla Soup, but just add a bunch of cheese (you'll literally need more than a pound) and melt it in. Personally, I like just adding the cheese to the top. I didn't have any tortillas made, so I didn't add any strips; just the cheese and avocado.

And you know what? I went back for seconds. And thirds. And had leftovers for lunch the following day. (I'm pretty sure seconds were involved them too.)

Have I mentioned how much I LOVE tortilla soup?


4.08.2013

Easy Chocolate Syrup

This Easy Chocolate Syrup has a LOT of sugar in it; I'm just putting it out there. First and foremost.

What is impressive, however, about this recipe is what it DOESN'T have in it. Corn Syrup. High Fructose Corn Syrup. And if you actually READ the list of ingredients on a bottle of chocolate syrup, there are a TON of other ingredients NOT included in this recipe. And THAT alone is justification for making AND consuming this Easy Chocolate Syrup.

Plus, there are only FIVE ingredients.

Easy Chocolate Syrup
(I've made this a couple times over now.)

What you Need:
1 1/2 cups sugar
3/4 cup cocoa powder (I used half dark and half cacao powder)
1 cup water
dash of salt (not pictured for some reason or another)
1 teaspoon vanilla


Add your dry ingredients to a sauce pan. Mix/Whisk them together.
Pre mix/whisk.


Add your water and combine.


Bring to a boil and stir until thick (about 5 minutes). Turn OFF the heat and add the vanilla. Turn the flame back on and cook for two minutes or so. You can let your chocolate syrup cool in the pan (in the refrigerator), or move it over to a GLASS container and place in the refrigerator.


VIOLA! So quick. SO easy. It makes for a somewhat boring blog post.

4.07.2013

Handmade REAL Food Tortillas

I LOVE Mexican food. I think it's in my blood. I have to tell my Mexican friends all the time, "It's okay, make it spicy! I know I'm whiter than white, but on the inside it is ALL Mexican!" I could probably eat Mexican food ALL the time, ALL day long. Except for maybe breakfast? I haven't had a lot of Mexican breakfast foods.

So, to say the least, when I learned I could make my own tortillas, with REAL ingredients, I was STOKED! After spending TWO HOURS the first time making tortillas, I swore I'd just buy them from the store; there was NO WAY the amount of time was worth watching said hard work be devoured in 10 minutes. Then my husband asked for my tortillas. I told him it was going to take at LEAST an hour or more. He said he'd wait. I asked if he realized that meant he would be eating close to 8p.m. He said it would be worth it. I tried to BRIBE my way out of it by asking if I could just BUY store tortillas and I'd make tortillas the next time. He said he really wanted MY tortillas and that the wait would be worth it.

The short of the story, my husband NEVER wants me to buy store bought tortillas again. He only wants to eat MY homemade tortillas. And you know what? I don't think I could ever bring myself to actually BUY store bought tortillas again. More importantly, the more I make these tortillas, the more it becomes a race against myself to see how fast I can whip up a batch. I honestly can't figure out WHY it took me two hours the first time. These are seriously, simple, easy, and delicious. AND they only take about 30 minutes.

Handmade REAL Food Tortillas
(I honestly couldn't tell you the first time I made these; I have been making them for at LEAST a year.)

What you Need:

2.5 cups whole wheat white flour (I use King Arthur's)
1 tsp salt
1/2 cup oil (ANY oil will work: I've done olive, almond, avocado, apricot, etc.)
1 cup hot water (I turn on the sink faucet and wait until I see steam)
Extra flour for rolling out tortillas


Add your flour and salt to a mixer. Make sure your dough hook attachment is on. 


[Note: Please realize you do NOT have to have a mixer to make this dough. BEFORE I had a mixer (last year's anniversary gift), I used my hands. It is MESSY, but it it SO WORTH the effort; and probably why it took me an original time frame of two hours. Do NOT let not having a mixer deter you from making these amazing tortillas!]

Slowly add your oil while your mixer is on low (somewhere between 1 and 3; wherever you are comfortable and do not have flour flying everywhere).


Let the mixer combine your oil and dry ingredients. You may need to stop the mixer and scrpe the sides of the bowl to ensure you end up with the result you want: coarse crumbs.

Ready to add the water!
Sometimes I play a (dangerous) game with my mixer and scrape the bowl WHILE it is still on. I learned the first time that I have to be smarter than the mixer. If the mixer catches your spatula, it's going to throw your hand towards your face and make you smack yourself. It isn't fun. Don't be like me. Just turn off the mixer and scrape the bowl. Okay?

It DOES make for a cool picture though.
Once you have achieved coarse looking crumbs, it's time to add the water. And yes, it is SUPPOSE to look weird.

Doesn't really look like dough, does it?
Turn your mixer back on and let it go until you have a ball of dough chasing (or being chased by) the dough hook. And you WILL need to scrap the bowl this go around to ensure the ingredients are all blending together.

It is slowly coming together. Not that the mixer is moving slowly.

Dough ball is starting to form!

Ta da!

Now, take your dough ball and turn it into a log. Don't forget to flour your surface. Otherwise, your dough is going to STICK.

HOWEVER, if you lay your dough down first, smoosh it a little bit (yes, that is a technical term :), pick it up and then flour, you end up with an awesome "glaze" on your rolling surface. And I happen to think this works MUCH better as the dough doesn't have a tendency to stick, which makes the process of moving tortillas from your surface to the frying pan a WHOLE lot easier.

Pick up your dough ball and add a little flour to your surface.
Ignore the tortilla balls at the top of the picture. Just smoosh your flour around a little.
Now you have an AWESOME "glaze" on your surface that will keep your dough from sticking. 
NOW roll your dough ball into a log.


Then cut the log in half.


And your halves in half.


And then your quarters in half.


Until you have a nice row of dough slices.


Now it's time to make tortilla balls.

I usually make three balls out of one slice. The key is to decide how BIG a tortilla you want. And if you have a tortilla press, then you have it MADE. I don't have one, so I eye ball my tortilla balls. I want them to fit just so in my hand and I know I have enough to make a tortilla small enough not to overwhelm my frying pan.


My end slices usually only make two balls. Or one and a half; it just depends.

This ball is TOO big.
Once you have all your dough balls made, it's time to roll them into tortillas!

Ready to go!
Start by making your "glaze" on your rolling surface. Then place one ball on top.


Now get your rolling pin ready.

Meet my rolling pin. YES, this will work.
Just place your hand in a bit of flour and rub it up and down on your rolling pin. This helps to keep the dough ball from sticking.  You can also take a ball and squash it down with your rolling pin and then apply the flour. You'll notice a familiar "glaze". :)

Use your hand or rolling pin to flatten your ball on your rolling surface. Add a little flour to the top.


Place your rolling pin in the center and roll either up or down.

Roll down.
Roll up.
First part done.
Now flip your flattened ball over and flour. You'll notice I rotated the flattened ball 90 degrees. If you keep the flattened dough in the same position as the above photo you will roll again left to right instead of up and down.

Add a little bit of flour.
Then roll the dough up and down again.


Continue to flip, rotate, add flour, and roll.


The idea is to push out the dough from the middle towards the edges. You can also work your rolling pin a circular motion to achieve a more circular shaped tortilla; which I rarely achieve.

As ROUND a tortilla as I typically mak
Now you can do one of two steps. I have found the second to be easier, less time consuming, AND produces less trash.


First, you can roll out all your tortillas and set them on wax paper in between each tortilla. Just make sure you have them lightly floured or they will stick and all the work up to this point will be for naught. This is what I USE to do. Then I realized I could cook one tortilla while rolling out another.

Turn the heat on between medium and medium high (you may need to adjust the heat once you start cooking the tortillas). You do NOT need to oil the pan; the oil in the dough will keep the tortillas from sticking.

Place your tortilla in your frying pan and wait for the bubbles to start to showing. You can also gently shake your frying pan; if the tortilla slides, it is ready to be turned.

Tortilla in the pan.
Bubbles. It is ready to turn.
Flip the tortilla for just a few minutes. 
The tortillas only need to sit for a few seconds on each side. The bubbles indicate it's done. Flip the tortilla and let it sit for a few more seconds and it's done. When you can gently shake your pan and the tortilla slides, that side is done.

Stack your tortillas on a plate and start the next one. The pan is HOT. Hot enough that you can take it off the burner, place another tortilla on it and cook that tortilla without your pan sitting on the flame. I usually cook one tortilla over the flame, then cook one off the flame (literally on another burner, I keep one burner on the entire time, so be careful not to place your arm near the open flame if trying this). By doing this, it reduces the number of burnt tortillas I end up with AND it allows me to roll out a tortilla without forgetting I have one already in the pan.

Cook a tortilla over the flame, then start one off flame. Roll out a tortilla, flip the one cooking, set it aside and start another one over the flame. Repeat.

Make sense?

Also, make sure your tortillas are rolled out nice and thin. The thinner they are, the faster they cook and I think the more evenly they cook.

Thin. Thin. THIN. That is my counter top you see through this tortilla.
I tend to roll out a couple tortillas when I am cooking off flame. These tortillas cook FAST, so it's nice to have a ready supply waiting to cook.


And as you can see, NOT perfect. The one on the far left is definitely pretty round though! I realize these LOOK large, but honestly, I aim for fajita size tortillas.

You will learn after the first go how large a tortilla your frying pan can handle. It takes practice, but it is WORTH it.

Also, if your tortilla happens to fold on itself when you place it in the frying pan, DON'T worry! I have had MANY fold on themselves. Just wait until your tortilla slides when you shake the pan and then CAREFULLY unfold it. I have had to throw a handful away because I just couldn't undo them. If this happens don't stress out; it just isn't worth it. Get another one going and move on!

It may take some time the first go around, but these are SO WORTH the time and effort put into them. My family won't eat any other kind of tortilla. My husband's co-workers asked him where I bought the tortillas from; they honestly could not fathom the idea that they were handmade. And the leftovers do not last very long. The kidlets are usually asking for quesadillas the following day and these tortillas make AMAZING wraps!

Take some time out of your day and make these!


Absolute perfection.